


Talented photographer Rebecca Patience has been shooting film and digital photos extensively over the years. She created her first presets way back in 2010. With this latest effort being her third preset collection, I can see her experience and understanding of film has benefitted us all. Rebecca poured all her love of film into their creation and the result is something truly beautiful. Her husband, Johnny Patience (also ridiculously talented) is also a film photographer and together they make quite a power team.
I feel that the beauty of film is its timeless appearance and I believe these presets capture a lot of that essence. While nothing digital can truly emulate the look of real film, these presets evoke the feel and aesthetic of film more closely than anything else I’ve used.
With digital RAW files came an infinite amount of editing options. I have tried various products to emulate film but their heavy handed effects often require a lot of tweaking to create a pleasing look. It can be disheartening with all that choice, when none of the presets seem to look “just right”. This leads to increased time spent editing when I would much rather be out photographing instead.
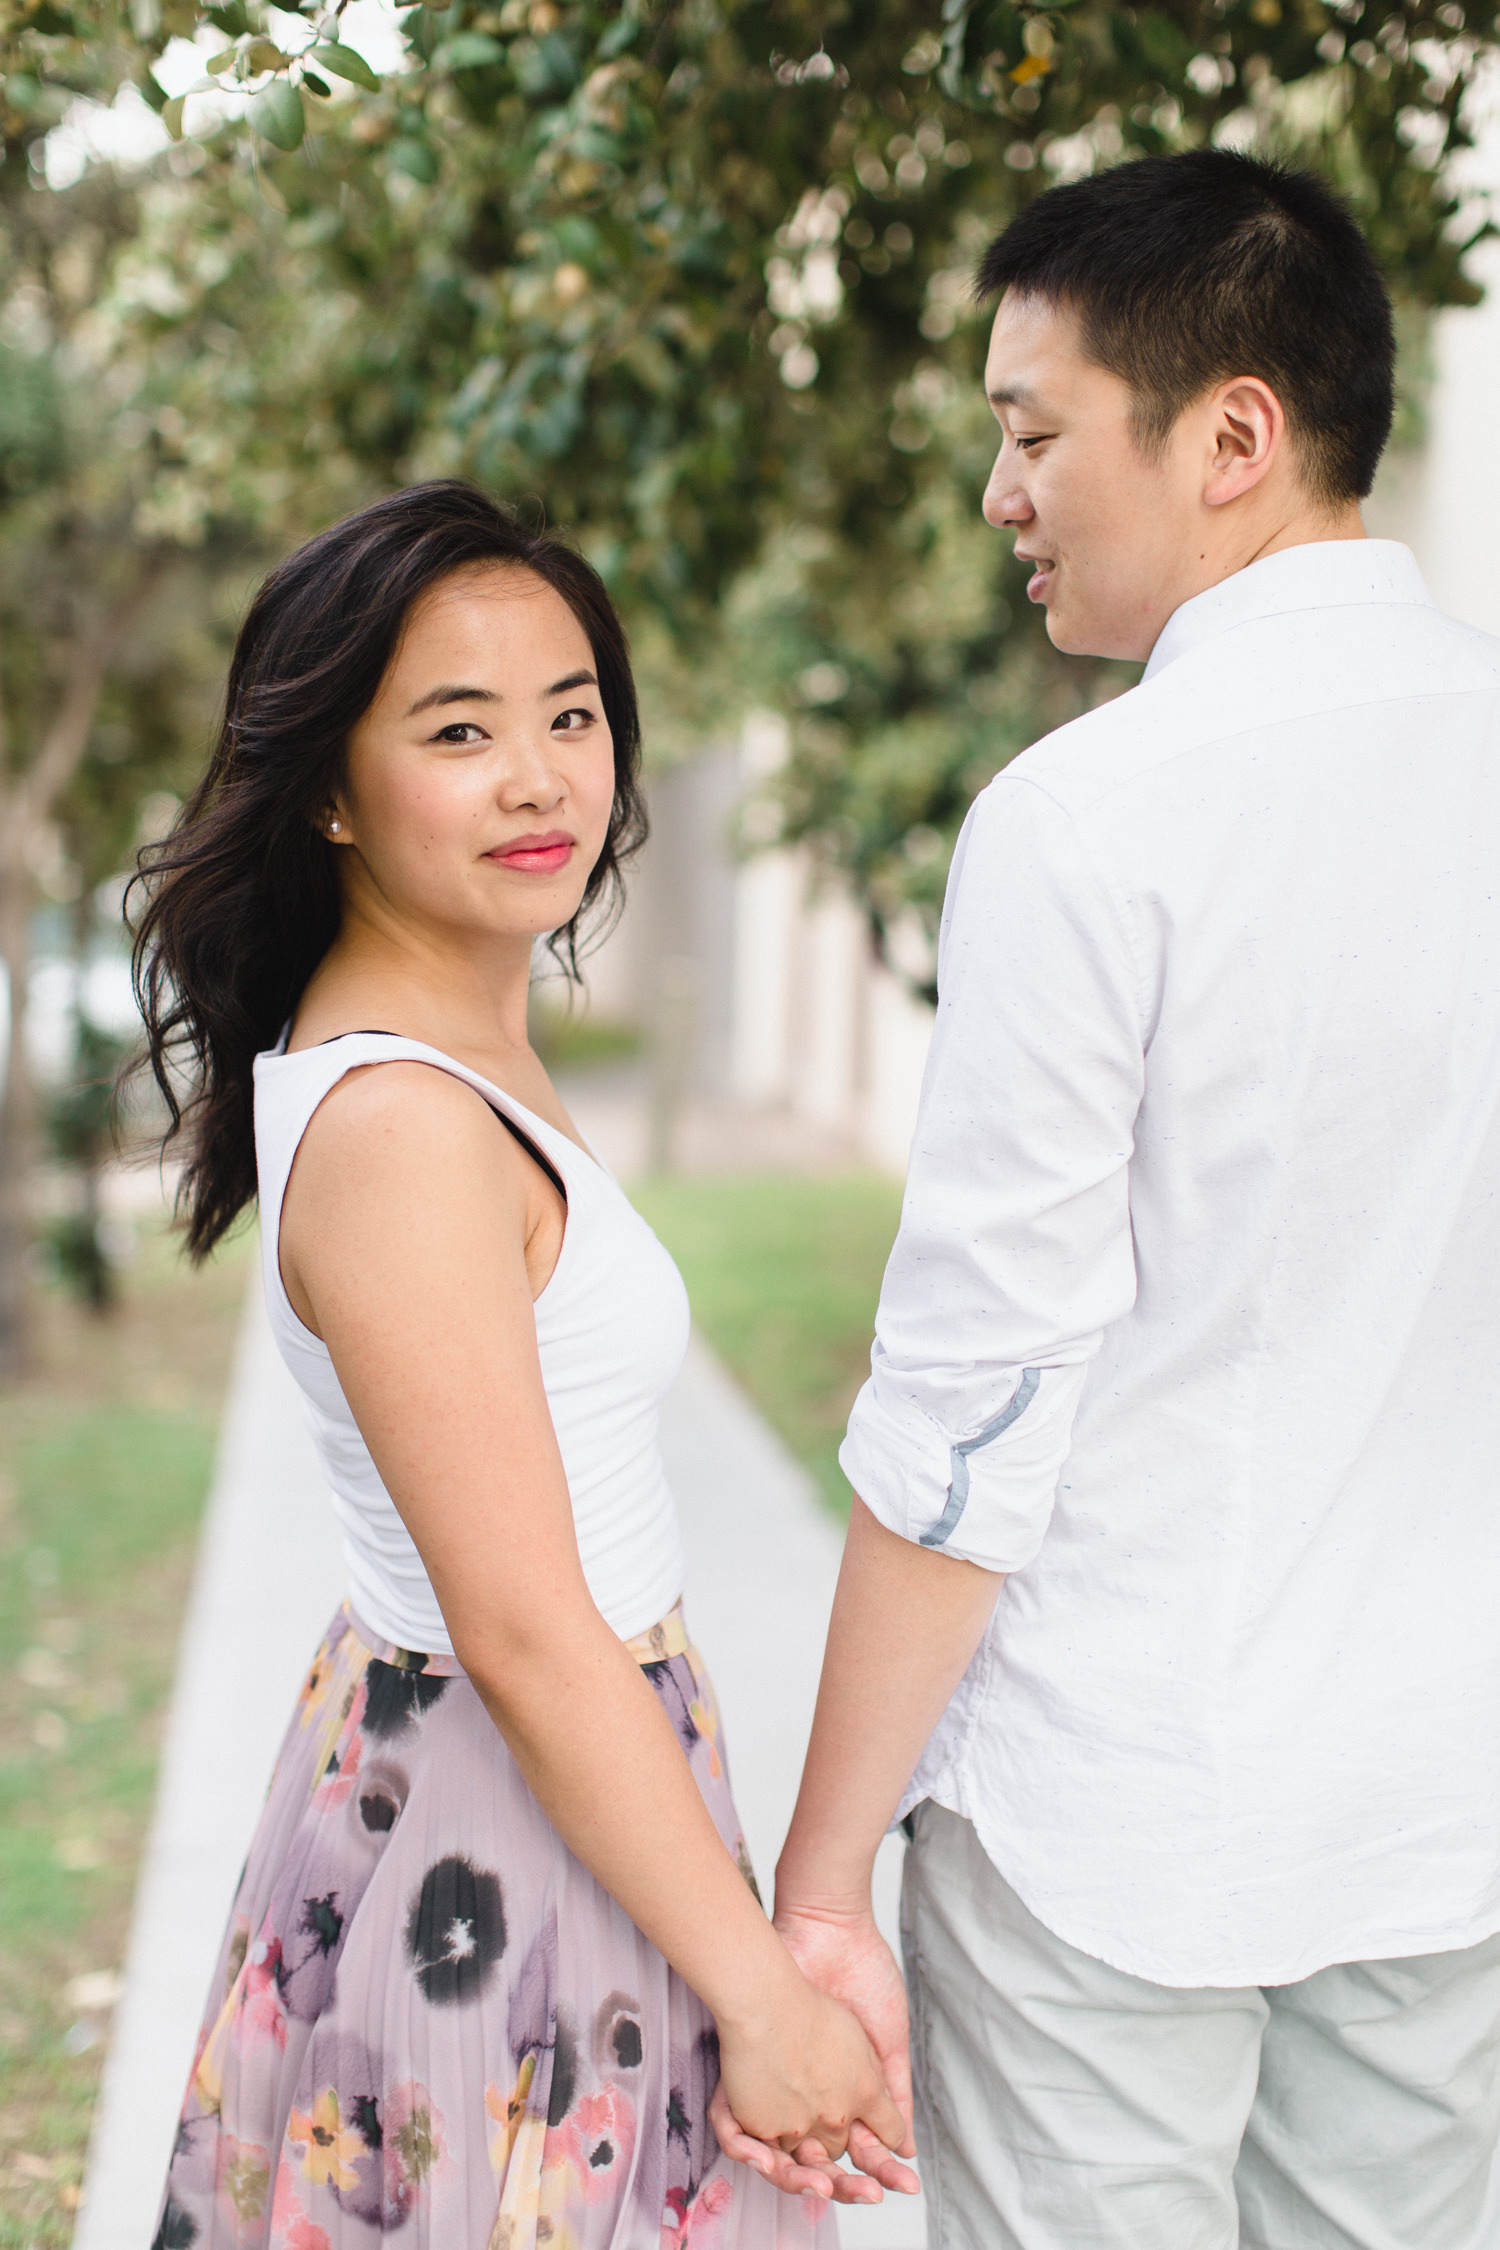
Left: Before preset. Right: After preset.


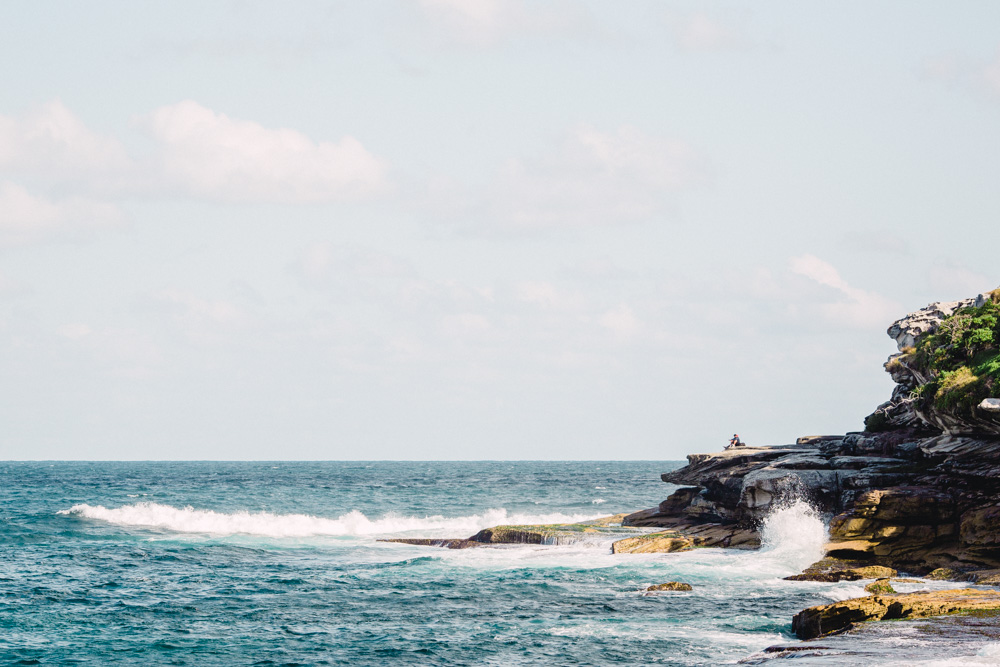
1. Amethyst III. 2. Apricot II. 3. Candy II. 4. Candy II. 5. Candy III.
How are these presets different?
The subtle looks Rebecca Lily has created mean you can find your favourites quickly and treat them as your go to presets. There’s a preset for practically any shooting scenario here. Skin tones remain beautiful across the range, which will please portrait and wedding photographers.
Rebecca Lily presets are designed to work with Adobe Camera Raw and Adobe Lightroom. They are not dependent on a camera profile, which is a big strength. That means you don’t need to worry about your camera not being supported or wait for updates when you buy a new camera. Achieving a consistent aesthetic across your different cameras is a time saving blessing.
Yes, they work with RAW and jpg!
The Pro Set III pack comes with 27 presets under categories of bright colour, deep colour, mid colour, pastel and black and white. Also included are 44 tools (23 of which require Lightroom 5). For each preset you will find three strengths ranging from very subtle to a slightly more pronounced effect. I tend to prefer the II or III strengths and believe they still remain tastefully subtle on their strongest versions.
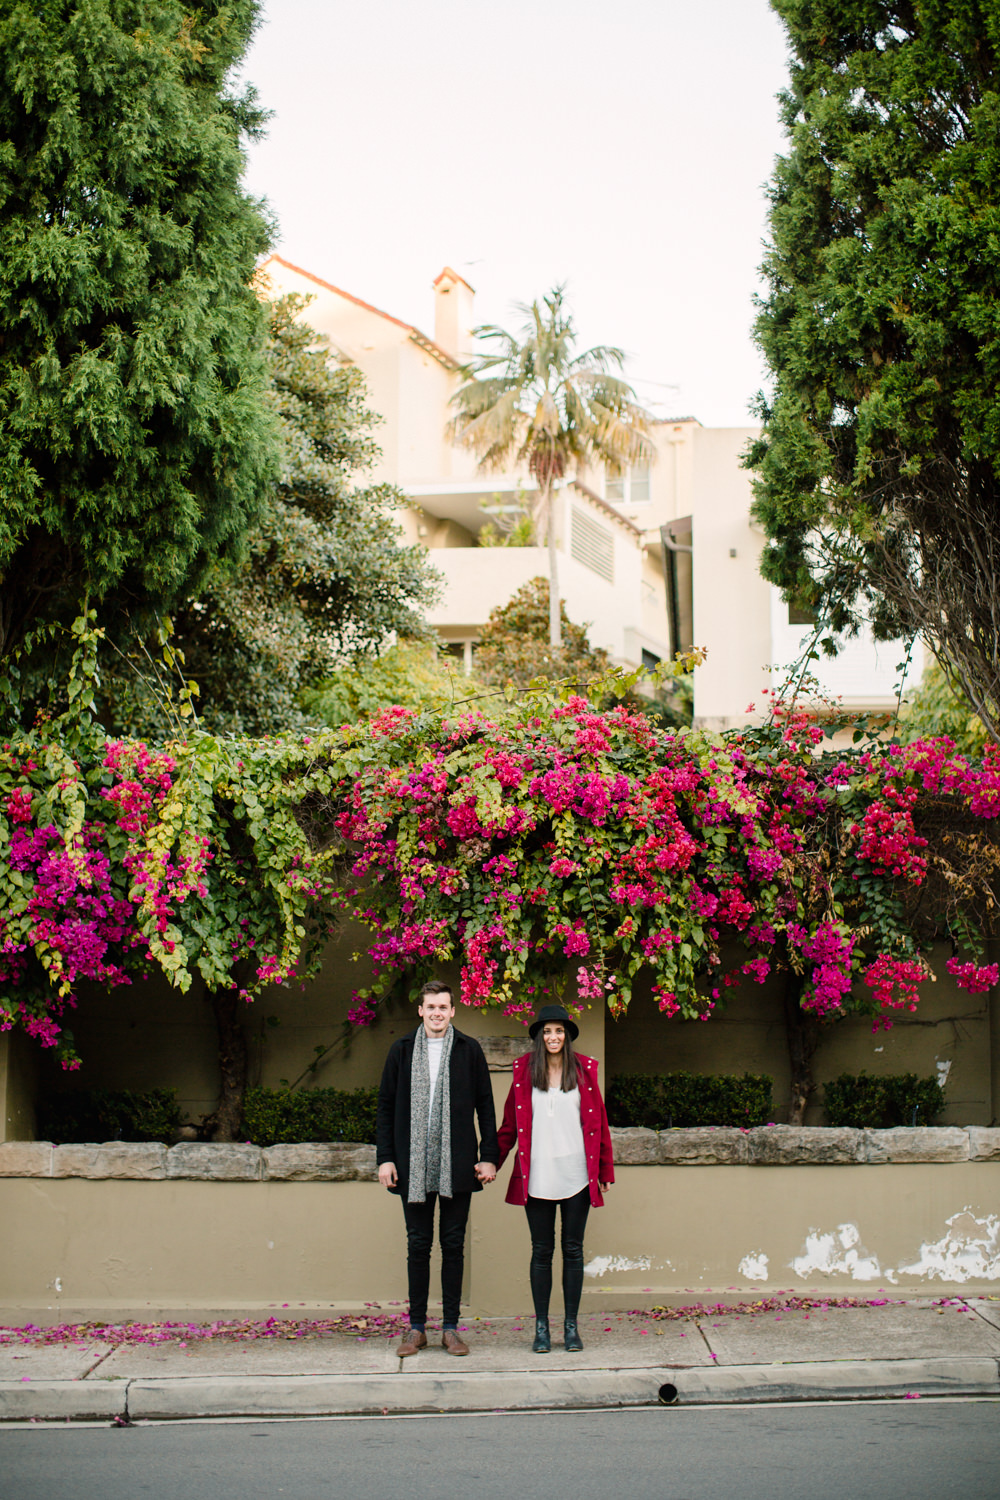
Left: Before preset. Right: After preset.


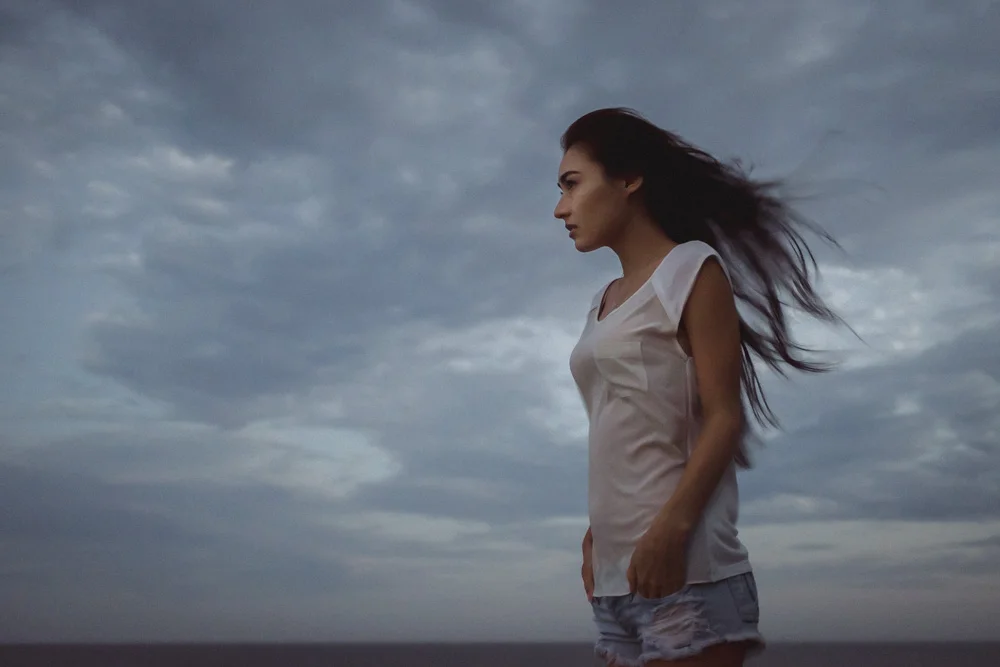
1. Candy III. 2. Amethyst III. 3. Matte Light I. 4. Metro III. 5. La Femme II.
Technique.
These work nicely in one click but here’s a few tips to get the best out of them.
As with all presets, it’s best to set your exposure and white balance/tint first. I like to roll over the presets, watching the preview window to narrow down which look best fits the scene and mood. I then experiment with the clarity slider (be careful to not go too far with this) before moving down to the tone curve. Typically I will raise the shadows first and then adjust the highlight/light tones a little to help replicate a film contrast.
Finally you may wish to turn on the checkbox for lens profile correction to correct any distortion or lens vignetting. Some of the presets contain lens vignetting built in. If you wish to adjust that, it can be found in the tools section or lens corrections section under the manual pane.
When shooting, there’s a few techniques to keep in mind to make your life easier in post production.
Always shoot your camera in full manual mode. This is a major time saver, as it helps ensure consistency in exposure when copying and pasting presets in post.
My favourite presets are the pastel range. When aiming for pastel colour palettes with digital files, aim to shoot a fairly flat/neutral histogram. It’s better to raise the exposure slightly in post rather than attempting to recover overexposed highlights later. You will find that the pastel presets brighten your exposure adding life to an otherwise flat, boring looking RAW file.
It is important to remember the spirit of “less is more”. I try to stick to 1 colour and 1 black and white preset per collection of photographs. That way I can create a “recipe” based on my favourite preset for that particular occasion. When you create a seamless result it helps emulate the overall consistency of film.
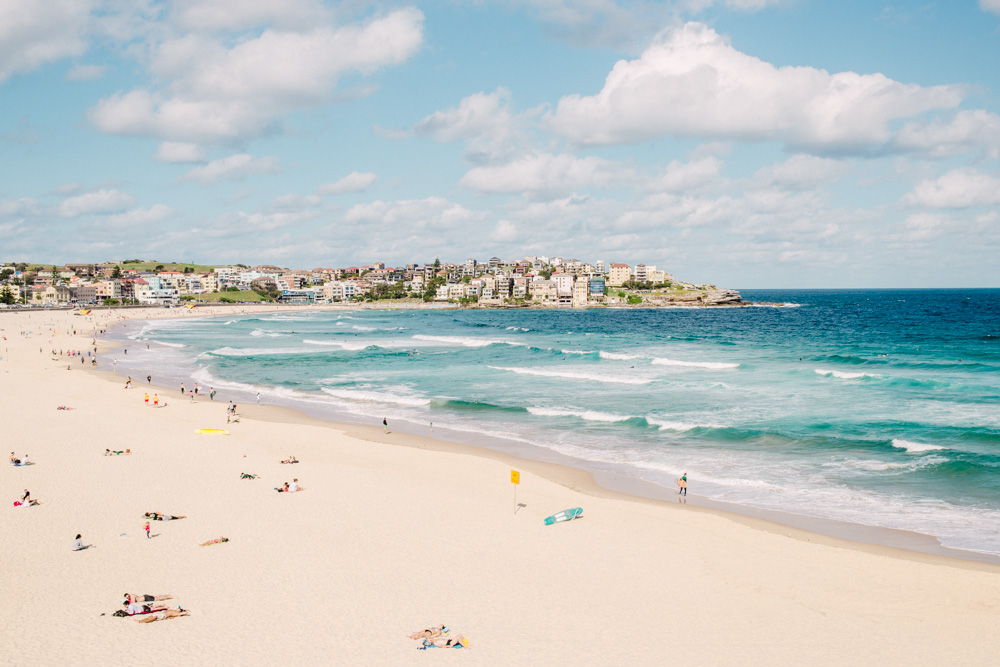
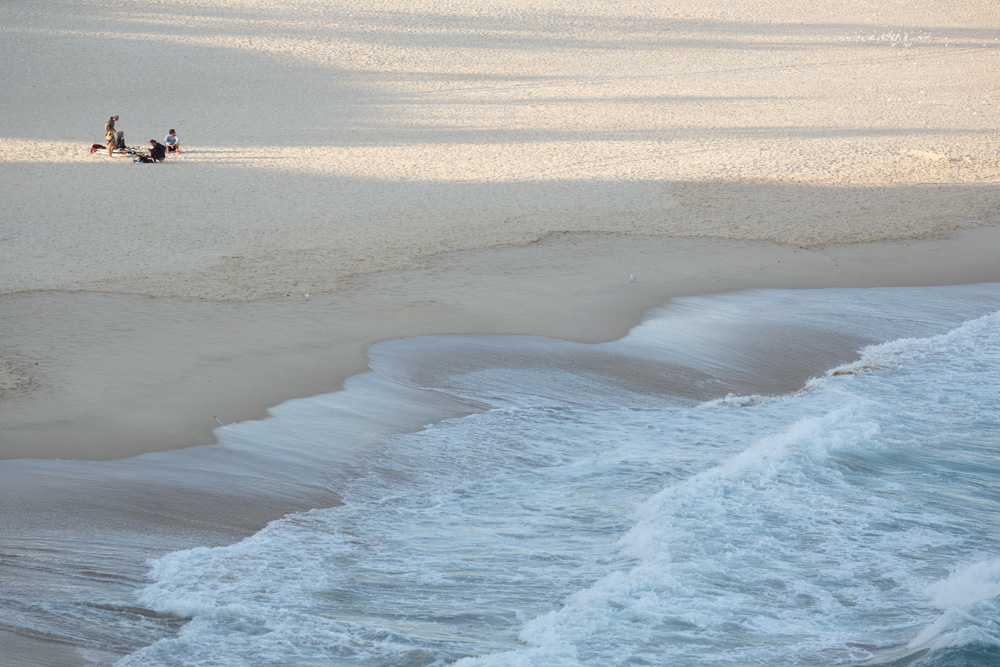
Left: Before preset. Right: After preset.


1. Apricot III. 2. Avalon II. 3. Lemoncello III.
Finally, I would encourage anyone interested in the film look to shoot real film. It will help you to better understand the beautiful film aesthetic which will in return, benefit your digital editing workflow. For those who already shoot film, you will recognise just how great these presets are!
If you enjoy a subtle, beautiful palette of colours I am sure you will be more than pleased with these presets.
Please leave your questions in the comments below and I will be happy to answer them for you.
Purchase Rebecca Lily Pro Set III
Follow Rebecca Patience on Twitter. Follow Johnny Patience on Twitter.